
Introduction
According to Mark Roemer Oakland, burning scented candles is a natural way to get rid of bad odor in your apartment and infuse it with a sense of luxury and relaxation. However, there is no need to waste money on purchasing expensive scented candles from high-end stores. You can make scented candles at your home with just a few simple tools and by following the correct guide.
The Steps
Here are the steps you can follow to create scented candles from scratch in your apartment:
1. Get the necessary supplies –
Before you get started with the process, you need to get the necessary supplies. These include candle wicks, candle wax(soy wax flakes), essential oils, heat-resistant glass jars, a wick centering device or chopsticks, a wick trimmer, a double boiler pot, and a silicone spatula.
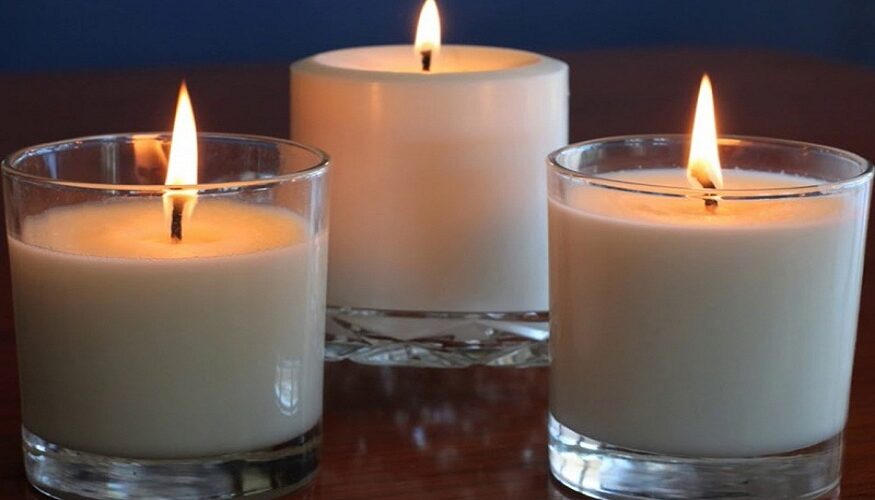
2. Get the container ready –
It is recommended you choose a strong and sturdy glass container for creating the scented candles. However, the container should not be too big so that you don’t use up all the wax creating a single candle. If you want to use a previously used candle jar, ensure you clean it thoroughly and dry it before following the next steps.
3. Measure and melt the wax –
Generally, it is best to use soy wax flakes since these burn cleaner than other scented candles and it is also easy to measure them when making scented candles. All you have to do is fill the container you got with the soy wax flakes up to where you want the candle surface to start.
Next, you have to pour the flakes into the pot that you want to use to melt the wax. However, almost half of the soy wax flakes can evaporate when heated. So, it is important to add the same amount once again before you melt them on medium heat. Generally, using the double-boiler method is the best approach. However, you can also get a saucepan filled with water and use a metal bowl on top of it.
4. Add your preferred essential oils –
Use a silicone spatula to slowly stir the mixture and closely monitor the progress of the wax. Once it has completely melted, you can add 10-20 drops of your favorite essential oils to the mixture. You can even use a combination if you want.
5. Pour the wax and let it rest –
The final step is to pour the melted wax into the container but before you do that, you have to attach the wick to it. Generally, the wicks come with a metal part that you simply have to dip in the melted wax and stick into the bottom of the container.
Once the wax underneath hardens and the wick stands up on its own, you can carefully pour the melted wax into the container. You can use a wick centering device to hold the wick at the very center in case it becomes unstuck. Finally, you have to allow the wax to cool down and harden which should take several hours.
Conclusion
Mark Roemer Oakland suggests you trim the wick of the candle to about ¼ of an inch using a scissor or wick trimmer before using it for safety. Also, never leave the candle burning unattended to reduce the risk of accidents.